
Learn how to set up your contact list in ServiceTonic
By default, ServicTonic creates a generic Contatc List with a series of standard fields. If you wish you can modify this list to edit or add new fields from Administration -> System -> Contact Management:


From this screen you can see the defaults fields of the contact list, which are the following:
- Mail: Contact mail
- Name: Contact name
- Surnames: Contact surnames
- Phone: Phone
- Languages: Contact display language.
If you want to add one more, you can edit the existing Contacts Template using the Update button that appears to the left of the Defined Templates box. Next you will be shown the following screen:


From here you can perform the following actions:
- Modify the name of the contact template: To change the text shown in ServiceTonic. You can call your list with the name you prefer: Clients, Users, Contacts, etc …
- Change the primary key of the contacts: The primary key is the unique identifier of the contacts and in turn the login to access the User Portal. By default, the email is established as a key field, but you can choose any other field knowing that it will always be taken into account that there are no duplicate values for that field.
- Add new fields to the contact list: To add new fields to the contact list you can click on the “Add” icon and fill in the form with the data of the new field.
- Change the order of the fields: By default the fields are shown in threes in different rows. With the arrows you can change the order of the fields to compose the form to your liking. Remember that if you have created a literal type field, it will act as a line break, showing the fields that come next in a new one.
Where you will have to indicate the following values in the General Properties box
- Name: Internal name of the field as it will be created in the database, it can not contain blank spaces or special characters such as accents, etc
- Literal: Name of the field as it will be shown in the application. Here you can enter spaces and special characters.
- Type: Type of field you want to add. In the example, a drop-down field. You can see all the types of fields allowed from here.
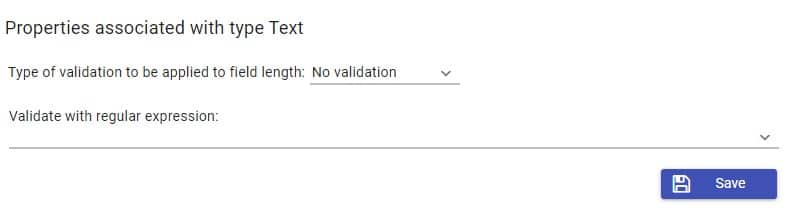
And depending on the type of field selected, fill in the requested data in the Properties associated with the type:
- List of values to be displayed in the drop-down field. In the examples, list of the different departments of the organization
- Option that you want to appear by default (optional)
Once the changes are made you can see the result in a single ticket from.